Few styles are more timeless or versatile than an updo. Everyone from Audrey Hepburn to Lady Gaga has done their own spin on the look and hairstylists never cease to find new ways to update the classic. On the SS14 runways variations on the look could be seen everywhere from Dolce & Gabbana where model’s coifs were adorned with fresh flowers, to Armani where girls sported pinned up hair in 80s era waves. Hair stylist Cash Lawless guides us through the trend step by step, creating three sky high variations on the look in the process.
PHOTOS – Kristiina Wilson | HAIR – Cash Lawless (The Magnet Agency) | MAKEUP – Suzy Gerstein for La Mer (The Magnet Agency) | MODEL | PRODUCTION – Kristen Bolt for Models.com | MODEL – Shelby Benson (New York Model Management) | BEAUTY EDITOR – Janelle Okwodu

RETRO
“This look is derived from many of the looks from the 40s but with a messier twist. You’ll need hot rollers, a brush, bobby pins and French pins. Set the hair with medium sized rollers. Once you’ve removed the rollers start by separating all of the hair that sits behind the ears from all the hair in front. Tease the base of the hair thoroughly. French twist the back and make it tight then grab all of the hair in the front and make a major comb over. Once all of the hair is over to one side pin it down flat to the top center of the head. Then start brushing the hair back over where it has been pinned to create a barrel. You can make it as big or small as your hair will allow. But keep it messy. Pin that barrel in place, and throw on a couple head bands to make it a bit more fun.”
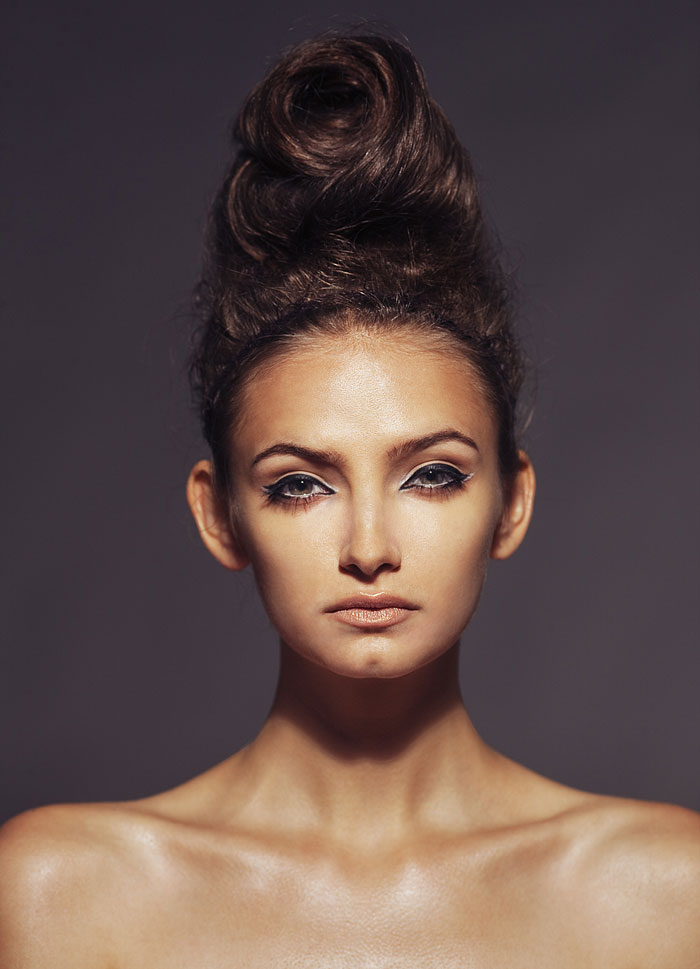
GLAMOROUS
“This look is the most complex depending on how large you want to make it. It requires hot rollers, a brush, pincushions or rats, and pins. Start by setting the hair in hot rollers. Then separating the hair behind the ear, tease all of the roots. Make a French twist around a pin cushion or rat. Place it higher than you think you’d need to. Then pin the cushion or rat to the crown of the head. Then slowly start taking ribbons of hair from the front sides of the head and begin to pull them back and pin them covering the cushion. Leave the ends out. Take the top mohawk section of hair that has been teased and pin it back over the crown. Take a scarf or piece of fabric and be creative.”
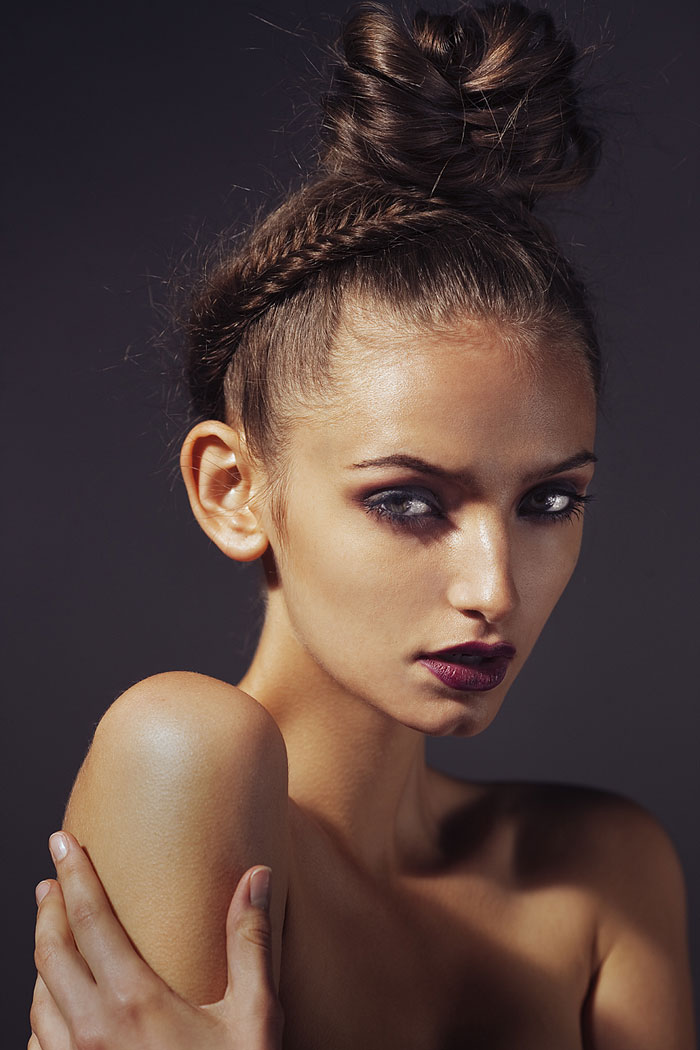
BRAIDS
“This look is fairly simple but can look really complicated. All you need is a comb, 3 small rubber bands and a couple of bobby pins. Start by making two pigtails in the back and then braiding them. Then pull all of the remaining loose hair into a really tight pony tail that sits on the crown of the head and then braid that as well. After that take the two pigtails and pull them over the top of the head in front of the ponytail and pin them to the base of the ponytail. Pin in any loose hairs from the ends of the pigtails. Start to pull the crown braid apart at its edges and really loosen it up. Once it’s nearly falling apart, wrap the braid around its base like you would a bun and pin. Be creative with what you do with the rest.”
PRODUCTS USED

MASON PEARSON BRUSH – the standard for form and fuction.
REDKEN FORCEFUL 23 – a final touch for hold and shine.
L’OREAL ELNETT – A must classic addition in hair stylists kits.
ORIBE DRY TEXTURIZING SPRAY – Adding a casual touch via a touch of texture.
BUMBLE & BUMBLE THICKENING HAIR SPRAY – A little added volume never hurt an updo.


